The Quick Answer
Single-store retail networks are simple. Hundred-store retail networks are simple too if the template is right. The difficulty lives in the in-between: a chain with 30 stores where every site was cabled differently, every patch panel is labeled differently, and every IT support call requires a half-hour of "what does the closet look like at your store?" Standardize first, deploy second.
Standard Retail Drop Count Template
The cable counts below are the baseline for a typical 3,000-5,000 square foot retail store. Adjust upward for larger format and downward for kiosks and pop-ups, but keep the categories.
| Location | Drops | Purpose |
|---|---|---|
| POS counter (per register) | 3-4 | POS terminal, payment device, receipt printer, customer-facing display |
| Back office / IT closet | 4-6 | Manager workstation, printer, time clock, surveillance recorder |
| Ceiling Wi-Fi APs | 2-4 | Sales floor coverage, employee Wi-Fi, guest Wi-Fi separation |
| Security cameras | 4-8 | Entrances, register area, back room, stockroom, exterior |
| Stockroom / receiving | 2-4 | Inventory scanner dock, receiving terminal, label printer |
| Music and signage | 2-4 | Background music player, digital signage displays, queue displays |
| Spare drops | 4-6 | Future expansion: additional registers, kiosks, displays, equipment |
Cable Category for Retail
Cat6 is the standard for retail chains. Stores are typically smaller than office buildings, run lengths are short, and the bandwidth requirements rarely exceed gigabit. Cat6A makes sense only in flagship stores or large-format locations where 10G to specific equipment may be needed. For most chains, Cat6 keeps materials cost down across hundreds of locations without sacrificing performance.
POS Wiring and PCI DSS Segmentation
Payment Card Industry Data Security Standard (PCI DSS) does not directly specify cable types or installation methods, but it requires that systems handling cardholder data be isolated from other network traffic. Cabling design supports PCI compliance by enabling clean network segmentation.
Dedicated POS Pathway
Every cable run from a POS register, payment terminal, or PIN entry device should terminate on a dedicated set of patch panel ports configured for the PCI VLAN. Use a separate patch panel (or clearly demarcated section of a shared panel) for POS drops. Color-code POS patch cables differently from data and Wi-Fi cables. This makes the PCI scope visible at a glance, simplifies PCI assessment, and prevents accidental cross-connection that would expand the scope of compliance.
Physical Security
PCI DSS Requirement 9 covers physical access controls. The IT closet, network rack, and any space where POS cabling terminates must be locked, with access limited to authorized personnel. Tamper-evident panel covers, locking patch panels, and lockable rack doors are common in PCI-scoped retail environments.
Pathway Considerations
POS cables should run in pathways that are not accessible to customers or unauthorized employees. Above ceiling tile, in conduit, or behind back-of-house walls are all acceptable. Avoid running POS cable through publicly accessible areas where it could be tapped or intercepted. If the cable must cross a public area, use conduit and seal access points.
Standard Retail IDF Layout
The back-office network rack at every store should be identical: same rack, same equipment positions, same patch panel layout. This is what makes chain operations work.
Standard Rack Build
- 9U-12U wall-mount rack with swing-out access for cable management
- Top: cable management panel for tidy patch cable routing
- Patch panel 1 (24-port): POS drops, color-coded distinct from data drops
- Patch panel 2 (24-port): Data drops (back office, signage, music, scanners)
- Patch panel 3 (24-port): Wi-Fi APs, security cameras, building automation
- Switch: 48-port managed PoE+ switch with capacity for 25%+ growth
- Router/firewall: SD-WAN edge appliance with cellular failover
- UPS: 1500VA rack-mount, 30+ minute runtime under typical load
- Cellular gateway: Backup connectivity for ISP outage failover
For tools to maintain consistency across every install:
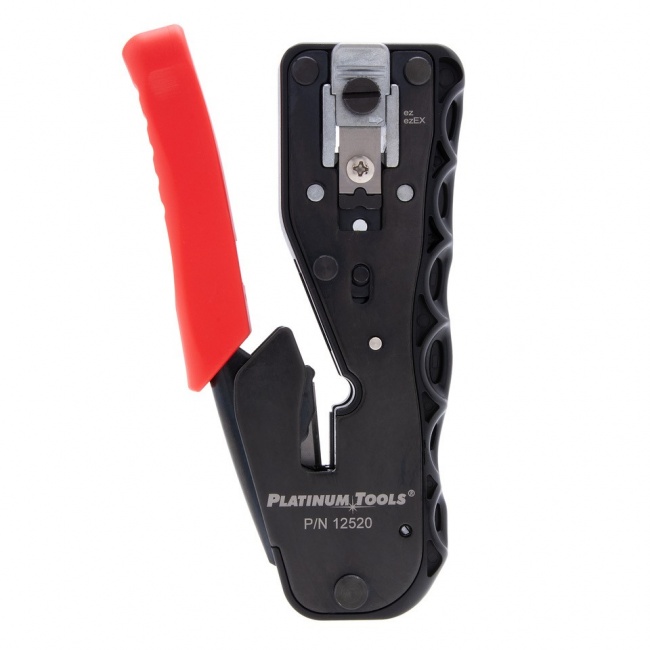
- EZ-RJ45 Cat6 connectors for fast, reliable patch cable termination
- EZ-EX crimp tool for one-pass crimping
- Multi-stripper for clean jacket prep
- HPH J-hooks for above-ceiling pathway
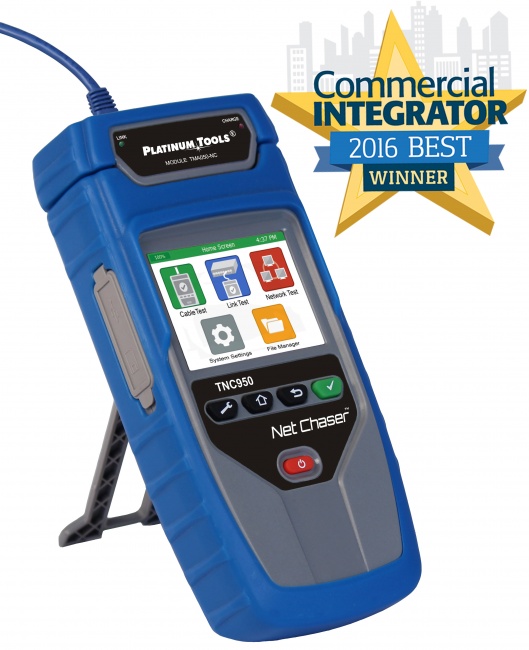
- VDV MapMaster 3.0 for fast wire map verification
Wi-Fi and Security Camera Coverage
Access Point Placement
Retail Wi-Fi serves customer mobile devices, employee handhelds, and inventory scanners. Coverage gaps mean lost transactions, and fixture-blocked APs perform poorly. Standard placement:
- Sales floor APs: Ceiling-mounted, spaced for full 5GHz coverage with -65 dBm signal at the floor.
- Back-of-house AP: Separate AP for stockroom and back office, which often have walls that block sales-floor coverage.
- Receiving area AP: If the store has a separate receiving area or loading dock, it gets its own AP for handheld scanners.
For more on AP placement, read our Wi-Fi access point placement guide.
Camera Coverage
Retail security cameras typically cover entrances, the register area (recording every transaction), high-shrink zones, the back room, and exterior. Most chains use IP cameras with PoE, which means dedicated cable runs from each camera back to the patch panel. Read our ethernet cable for security cameras guide for more on camera cabling specifics.
Camera placement is governed by loss prevention requirements rather than cabling considerations. Pull the cable to where loss prevention wants the camera, even if it means a longer or more difficult run.
Install Schedule: New Construction vs Retrofit
New Construction (Greenfield Stores)
For new construction, network cabling is part of the rough-in trades and happens before drywall closure. The crew gets 1-2 days for cable pulls during open-frame construction, then comes back for terminations and testing once finishes are complete. Because pathways are open and unobstructed, productivity is high: a 2-person crew can pull 24 drops in a single shift.
Retrofit and Refresh in Occupied Stores
Retrofit work in occupied retail stores almost always happens overnight, typically 10pm to 6am. The work plan:
- Night 1 (overnight): Cable pulls, pathway work, J-hook installation. Avoid customer-facing areas during business hours; restrict daytime work to back-of-house.
- Night 2 (overnight): Terminations at wall plates and patch panels. Test every drop with a wire mapper as it terminates so failures get fixed before the crew leaves.
- Night 3 (overnight): Equipment installation: switch, router, APs, cameras. Configuration upload from corporate IT. Verify connectivity with corporate network operations center.
- Morning 4 (before opening): Final cleanup, ceiling tile replacement, walk-down with store manager, sign-off.
Pre-Made vs Field-Terminated Cables
Some chains use factory-terminated trunk cables to speed up overnight retrofit work. Factory-terminated trunks come pre-tested and pre-labeled, eliminating field termination time. The trade-off is higher materials cost and less flexibility on length. For chains rolling out hundreds of identical stores, factory-terminated trunks pay for themselves in labor savings. For one-off stores, field termination is more economical.
Documentation Standard Across Stores
Every store should have an identical documentation package available to corporate IT support and to local store managers.
Per-Store Documentation Package
- Cable schedule: Spreadsheet listing every cable, its label, its location, its patch panel port, and its purpose.
- Floor plan with drop locations: Annotated floor plan showing every wall outlet, every AP, every camera, and the rack location.
- Patch panel map: Diagram of each patch panel showing port-by-port assignments.
- Rack elevation: Photo and diagram of the rack as installed, showing exact equipment positions.
- Test reports: Wire map test results for every drop, certified at install time.
- Standard label scheme: One label format used across the entire chain so any IT staff knows how to read store labeling.
Centralize all documentation in a corporate document management system accessible to IT support staff. When a store calls with a problem, support staff can pull the documentation in seconds and troubleshoot effectively.
Common Mistakes in Retail Chain Cabling
- Different layouts at different stores. The whole point of a chain is consistency. If every store cabled differently, IT support is impossible to scale.
- Not separating POS drops at the patch panel. Mixing POS and back-office drops on the same patch panel ports without clear segmentation creates PCI compliance complications.
- Insufficient spare drops. Stores add new equipment over time: kiosks, additional registers, digital signage. Plan 4-6 spare drops per store from the start.
- Wi-Fi gaps on the sales floor. Mobile checkout and inventory scanning fail when Wi-Fi signal drops. Spec one AP per 1500-2000 sq ft of sales floor and verify coverage with a survey tool after install.
- Skipping cable testing during overnight retrofits. The crew leaves at 6am, the store opens at 9am, and the failed drop reveals itself when the register cannot connect. Test every drop before terminating the next one.
- No cellular failover. Retail stores depend on the network for transactions. ISP outages happen. A cellular gateway as backup is cheap insurance against revenue loss.
- Inconsistent labeling. The IT support team supporting 100 stores cannot remember 100 different label schemes. Write the label scheme into the corporate cabling standard and enforce it.
Related Articles
Frequently Asked Questions
How much network cable does a typical retail store need?
A standard 3,000 to 5,000 square foot retail store typically needs 12 to 24 network drops: 2-4 drops at each POS counter, 4-6 drops in the back office and stockroom, 2-4 ceiling Wi-Fi access points, 4-8 security cameras, and 2-4 drops for music, signage, and other peripherals. Larger format stores (10,000+ sq ft) scale up proportionally with additional registers, more APs to cover the sales floor, and dedicated drops for inventory scanners and receiving area equipment.
Why do retail chains use a standardized cabling template?
A standardized template means every store has the same cable counts, label scheme, patch panel configuration, and equipment layout. Crews trained once can deploy at any location, IT support staff can troubleshoot any store using the same documentation, and equipment refreshes happen on a predictable timeline across the entire chain. The template typically specifies cable category, drop counts per fixture type, exact label format, IDF location, and POS-to-back-office pathway requirements.
What are the PCI DSS implications for retail network cabling?
PCI DSS does not specify cable types but does require that systems handling payment card data be isolated from other network traffic. In practical terms, this means dedicated VLAN paths from the POS terminal to the payment processor, with documented network segmentation. Cabling supports PCI compliance by enabling clean separation: dedicated patch panel ports for POS drops, distinct labeling, and physically secure pathways. Sloppy cabling makes PCI assessments painful and increases the scope of compliance.
How long does a retail store network install take?
A standard 20-drop retail store install with template-based design typically takes 2-3 days for a 2-person crew: one day for cable pulls and pathways, one day for terminations and patch panel work, and a half day for testing, labeling, and equipment installation. New construction installs faster because pathways are open. Retrofit installs in occupied stores typically happen overnight (10pm to 6am) over 3-5 nights to avoid disrupting business hours.
Where should the network rack go in a retail store?
The network rack should go in the back office, IT closet, or dedicated stockroom space - never in publicly accessible areas. Ideal location is central to the cable runs (to keep distances under 90 meters), close to the demarcation point where the ISP brings service into the building, on a wall with adequate clearance, and in a temperature-controlled area. A wall-mount rack (8U-12U) is sufficient for most retail stores. The room must be lockable for PCI DSS physical security compliance.
Standardize Your Retail Cabling Toolkit
Multi-site rollouts succeed when every crew has the same connectors, crimpers, and testers. Build a kit, replicate at every location, ship consistently.